
Two-factor authentication (2FA) is a method of authenticating a user name and password with an additional layer of protection. SMS, a password list or a TOTP application can be used in 2FA. A good example of two-factor authentication is online banking credentials: when logging into an online bank, in addition to the ID and password, a variable PIN is entered from an external source, such as a mobile app or a key generator device.
Two-factor authentication protects your user account in situations where your password has leaked to outsiders, or if it was a weak one and could be easily guessed by someone trying to enter your site. When two-factor authentication is enabled and the attacker knows the password, the login will fail – unless the attacker also happens to be in possession of the device used for two-factor authentication.
In this article, we will go through the installation and deployment of Google Authenticator TOTP (time-based one-time password) on a WordPress site. In addition, we will guide you through the implementation of the Two Factor plugin on your WordPress user account. Newly created sites at Seravo’s premium hosting and upkeep come with the plugin pre-installed.
Enable 2FA Like This
- Install Google Authenticator on your mobile device.
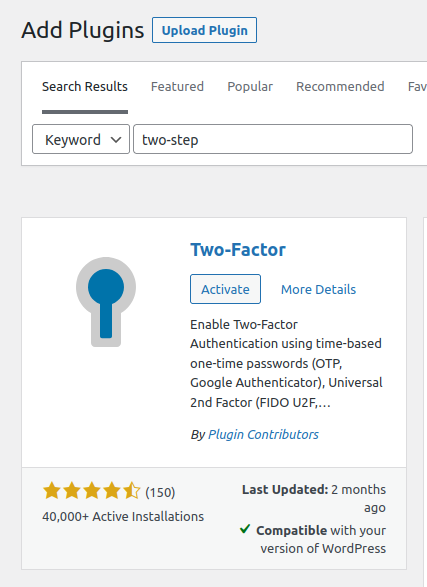
- Install and activate the Two-Factor plugin from the WordPress dashboard, or by using the WP CLI command line tool. The plugin can be found with the search term “two-step” in the search field of the WordPress control panel (Plugins -> Add New):
You can also install the plugin with the following WP CLI command:
wp plugin install two-factor --activate
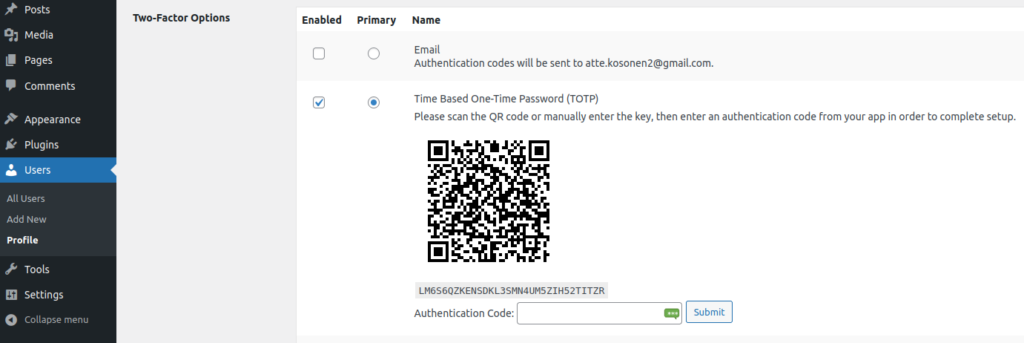
3. Enable two-factor authentication for your username on your WordPress profile page (Users -> Profile). Enable the time-based one-time password (TOTP) setting, and set it as your primary authentication method:
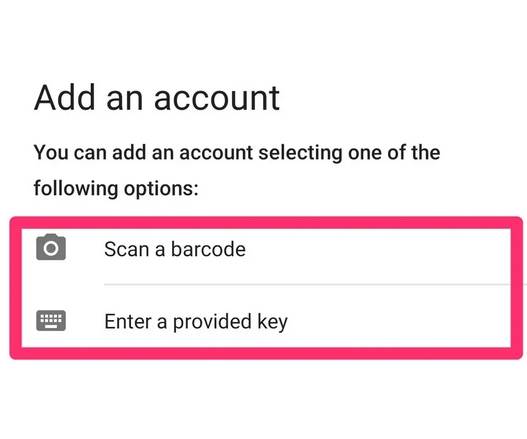
4. Open Google Authenticator on your mobile device. Add an account using the + button. You can add an account by scanning the QR code or by typing in the activation key.
5. The added account will appear on the list, where you still have to enter the authentication code on your WordPress profile page.
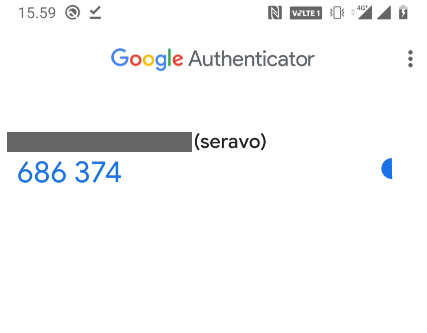
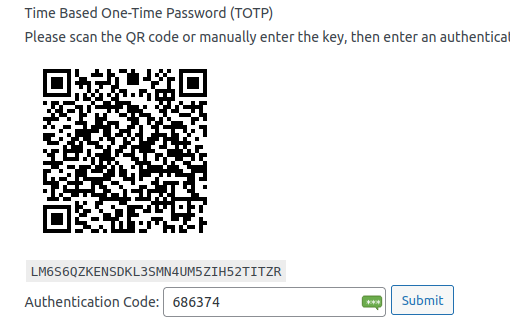
6. Enter the code and press Submit. The installation is then complete!
Next time you log in to your WordPress site, you will need to enter the username and password followed by the authentication code provided by Google Authenticator.
Make Sure Everyone Uses 2FA
Currently, the two-factor authentication feature of the plugin cannot be automatically enabled for all users of the site, but has to be done on a per-user basis.
Two-factor authentication is recommended as it significantly improves the security of your site. It is also advisable to implement two-factor authentication in other services you use, if possible.